Moong Dal Snack Recipe – Crispy, Crunchy & Healthy Tea-Time Delight
Introduction
If you are searching for a crispy, light, and healthy snack that satisfies your cravings without guilt, this Moong Dal Snack Recipe is exactly what you need. Made using simple pantry ingredients, this traditional Indian snack is loved for its irresistible crunch and mild spicy flavor.
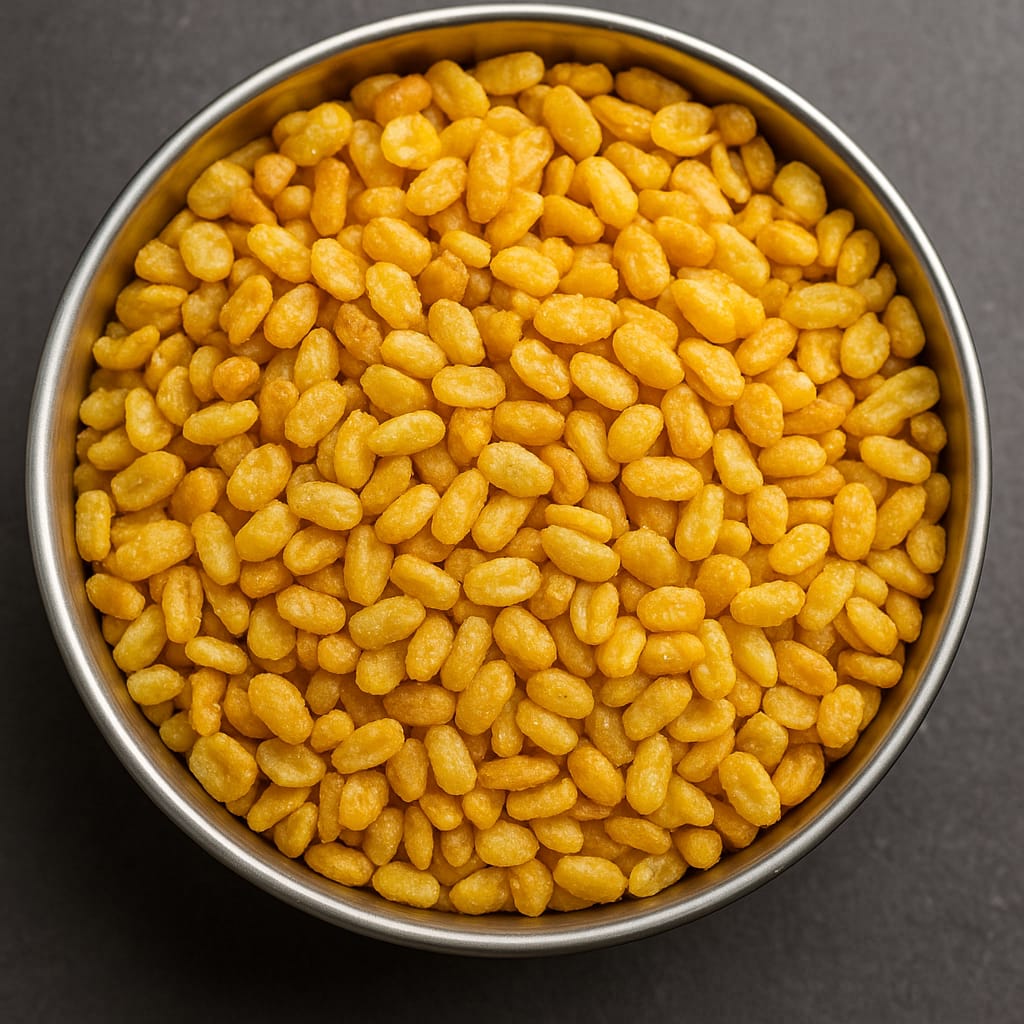
Moong dal (split yellow gram) is soaked, dried, and deep-fried to perfection, then seasoned with basic Indian spices like salt, turmeric, and red chilli powder. The result is a golden, crunchy snack that pairs beautifully with a cup of hot chai.
Unlike packaged snacks that are loaded with preservatives, homemade moong dal snack allows you to control oil, salt, and spice levels. It is also naturally rich in plant-based protein and fiber, making it a healthier alternative for both adults and kids.
Whether you want a quick evening snack, something crunchy to munch while working, or a homemade namkeen to store for days, this recipe is simple, economical, and absolutely addictive.
Ingredients
- 1 cup split yellow moong dal
- Salt to taste
- ½ teaspoon turmeric powder
- ½ teaspoon red chilli powder (adjust to taste)
- A pinch of asafoetida (hing)
- Oil for deep frying
Cooking Time
- Soaking Time: 2 hours
- Preparation & Cooking: 15 minutes
- Total Time: 2 hours 15 minutes
Step-by-Step Instructions
- Wash the moong dal thoroughly under running water until the water runs clear.
- Soak the dal in enough water for 2 hours. The dal should soften slightly but still remain whole.
- Drain the water completely using a colander and spread the dal on a clean kitchen towel.
- Allow it to air dry for 15–20 minutes. This step is crucial for crispiness.
- Heat oil in a deep kadai on medium heat.
- Add the dried moong dal in small batches. Do not overcrowd the pan.
- Fry on medium-low heat, stirring occasionally, until the dal turns golden and crunchy.
- Remove using a slotted spoon and place on paper towels to absorb excess oil.
- While the dal is still warm, add salt, turmeric, red chilli powder, and hing.
- Mix well so the spices coat evenly.
- Allow the snack to cool completely before storing.
Tips & Variations
- Ensure the moong dal is completely dry before frying to avoid oil splatter.
- Fry on medium-low heat for even cooking and maximum crunch.
- Add fried curry leaves or roasted peanuts for extra flavor.
- For a low-oil version, bake at 180°C (356°F) for 20–25 minutes, stirring once.
- You can also air-fry the dal for a healthier snack option.
Health Benefits of Moong Dal Snack
- Rich in plant-based protein, supporting muscle health.
- High fiber content aids digestion and keeps you full longer.
- Low glycemic index makes it suitable for diabetics (in moderation).
- Provides sustained energy without heaviness.
- Gluten-free and suitable for vegetarian diets.
Nutrition Information (Approx. per serving)
- Calories: 180–200 kcal
- Protein: 8–9 g
- Carbohydrates: 20 g
- Fiber: 4–5 g
- Fat: 7–9 g
Who Should Eat & Who Should Avoid
Recommended for:
- People looking for healthy homemade snacks
- Vegetarians and vegans
- Those managing weight (portion control advised)
- Kids and adults as a tea-time snack
Avoid or limit if:
- You have digestive sensitivity to fried foods
- You are on a very low-fat medical diet
Storage Tips
Store the cooled moong dal snack in an airtight container at room temperature. It stays fresh and crunchy for up to 7–10 days. Keep away from moisture to maintain crispiness.
Frequently Asked Questions (FAQs)
Can I make this without deep frying?
Yes, baking or air-frying works well and reduces oil significantly.
Why is my moong dal not crispy?
Excess moisture or frying on high heat can make the dal soft.
Is moong dal snack healthy?
Yes, when made at home with controlled oil and spices, it is nutritious and protein-rich.
Conclusion
This Moong Dal Snack Recipe is a perfect blend of taste, crunch, and nutrition. Easy to prepare and made with minimal ingredients, it is an ideal alternative to store-bought snacks.
Whether you enjoy it with evening tea or pack it for travel, this crunchy delight will never disappoint. Try it once, and it’s sure to become a staple in your snack jar!
క్రిస్పీ పసరపప్పు స్నాక్ రెసిపీ – టిఫిన్ & టీ టైమ్కు బెస్ట్
పరిచయం
పసరపప్పుతో తయారుచేసే ఈ క్రిస్పీ పసరపప్పు స్నాక్ టీ టైమ్కు, పిల్లల స్నాక్స్కు, అలాగే ఆరోగ్యకరమైన మధ్యాహ్న అల్పాహారంగా చాలా అద్భుతంగా ఉంటుంది.
పసరపప్పును నానబెట్టి, ఎండబెట్టి, నూనెలో వేయించడం ద్వారా ఈ స్నాక్కు బయట కరకరలాడే టెక్స్చర్, లోపల లైట్ క్రంచ్ వస్తుంది.
మార్కెట్లో దొరికే ప్యాకెట్ స్నాక్స్తో పోలిస్తే, ఇది కనీస మసాలాలతో తయారవుతుంది మరియు నూనె, ఉప్పును మనం నియంత్రించవచ్చు.
ప్రోటీన్, ఫైబర్ అధికంగా ఉండే ఈ స్నాక్ జీర్ణక్రియకు సులభం మరియు ఎక్కువ సేపు తృప్తిని ఇస్తుంది.
కావలసిన పదార్థాలు
- పసరపప్పు – 1 కప్పు
- ఉప్పు – తగినంత
- పసుపు పొడి – ½ టీస్పూన్
- కారం పొడి – ½ టీస్పూన్
- ఇంగువ – ఒక చిటికెడు
- నూనె – వేయించడానికి
తయారీ సమయం
- నానబెట్టే సమయం: 2 గంటలు
- వేయించే సమయం: 15 నిమిషాలు
- మొత్తం సమయం: 2 గంటలు 15 నిమిషాలు
తయారీ విధానం
- పసరపప్పును శుభ్రంగా కడిగి 2 గంటలు నీటిలో నానబెట్టండి.
- నీటిని పూర్తిగా వడకట్టి, శుభ్రమైన టవల్పై 15 నిమిషాలు ఎండనివ్వండి.
- కడాయిలో నూనె వేడి చేసి, పప్పును కొద్దికొద్దిగా వేయించండి.
- బంగారు రంగు వచ్చి క్రిస్పీగా మారే వరకు వేయించాలి.
- పేపర్ టవల్పై వేసి అదనపు నూనె తీసేయండి.
- వేడిగా ఉండగానే ఉప్పు, కారం, పసుపు, ఇంగువ వేసి కలపండి.
- చల్లారిన తర్వాత ఎయిర్టైట్ డబ్బాలో నిల్వ చేయండి.
చిట్కాలు & మార్పులు
- పప్పు పూర్తిగా ఎండిపోయిన తర్వాతే వేయించాలి.
- రుచికోసం కరివేపాకు లేదా వేరుశెనగలు జోడించవచ్చు.
- తక్కువ నూనె కావాలంటే 180°C వద్ద ఓవెన్లో 20 నిమిషాలు బేక్ చేయవచ్చు.
- చాట్ మసాలా లేదా వెల్లుల్లి పొడి వేసినా రుచిగా ఉంటుంది.
ఆరోగ్య ప్రయోజనాలు
- ప్రోటీన్ అధికంగా ఉండి కండరాల బలానికి సహాయపడుతుంది
- ఫైబర్ ఎక్కువగా ఉండి జీర్ణక్రియ మెరుగుపరుస్తుంది
- బరువు నియంత్రణకు ఉపయోగపడుతుంది
- డయాబెటిస్ ఉన్నవారికి సరైన స్నాక్
పోషక విలువలు (సుమారు)
- కేలరీలు: 180 kcal
- ప్రోటీన్: 8g
- ఫైబర్: 6g
- కొవ్వు: 6g
ఎవరికి మంచిది? ఎవరు తినకూడదు?
తినవచ్చు:
- పిల్లలు & పెద్దలు
- డయాబెటిస్ ఉన్నవారు (మితంగా)
- బరువు తగ్గాలనుకునేవారు
తినకూడదు:
- నూనె తినకూడని ఆరోగ్య సమస్యలున్నవారు
- గ్యాస్ సమస్య ఎక్కువగా ఉన్నవారు ఎక్కువగా తినకూడదు
నిల్వ విధానం
పూర్తిగా చల్లారిన తర్వాత ఎయిర్టైట్ డబ్బాలో పెట్టి 7–10 రోజులు వరకు నిల్వ చేసుకోవచ్చు.
తరచూ అడిగే ప్రశ్నలు
Q: ఈ స్నాక్ ఆరోగ్యకరమా?
A: అవును, ఇంట్లో తయారుచేస్తే చాలా ఆరోగ్యకరం.
Q: పిల్లలకు ఇవ్వవచ్చా?
A: అవును, కారం తగ్గించి ఇవ్వవచ్చు.
Q: ఎయిర్ ఫ్రైయర్లో చేయవచ్చా?
A: అవును, తక్కువ నూనెతో చేయవచ్చు.
ముగింపు
ఈ పసరపప్పు క్రిస్పీ స్నాక్ రుచిగా ఉండడమే కాకుండా ఆరోగ్యానికి కూడా మేలు చేస్తుంది. టీ టైమ్కు, ప్రయాణాల్లో లేదా రోజువారీ స్నాక్స్గా తప్పక ట్రై చేయండి.
ఇలాంటి మరిన్ని ఈజీ & హెల్తీ రెసిపీల కోసం Everyday Easy Recipe ని ఫాలో అవ్వండి.
Leave a Comment